
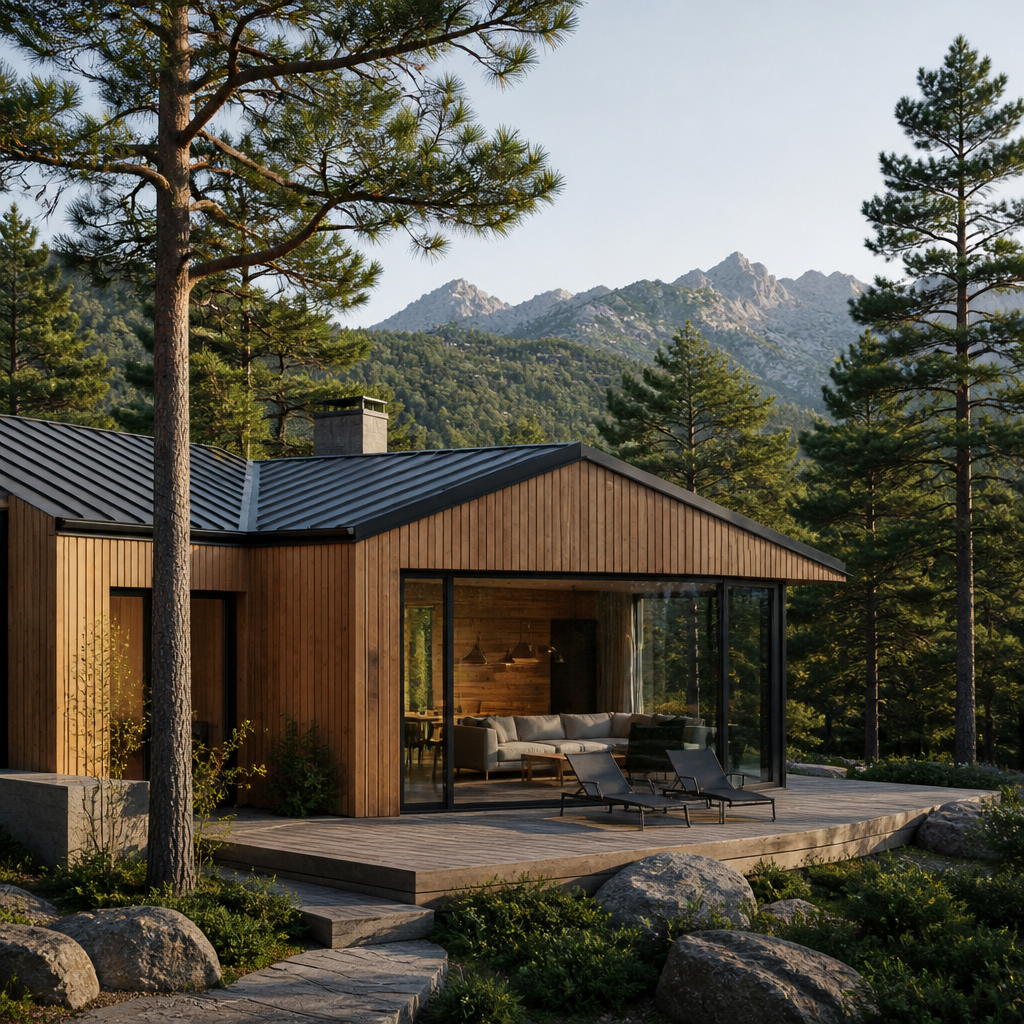
Scroll through any round-up of beach houses, mountain retreats or renovated farmhouses belonging to people with good taste and a good architect, and you will notice the same material again and again: cedar. Sometimes it is tight rows of shingles weathering to silver-grey. Sometimes it is wide vertical boards with crisp shadow lines. Occasionally it is a heavy timber bracket holding up a porch roof that looks like it has been there for eighty years. The look is enormously copied and frequently copied badly, because cedar rewards good decisions and punishes lazy ones.
If you are thinking about cedar for your own exterior — a full re-side, a gable accent, a garden studio, a porch rebuild — it helps to understand what you are actually buying. The differences between a shingle, a shake, a bevel board and a pattern profile are not cosmetic trivia. They change how the wall sheds water, how often you touch it, and how it looks in year fifteen.
The reason designers keep reaching for it
Cedar’s appeal is partly visual and partly physical. The wood is dimensionally stable for a softwood, which means it moves less across the grain than many alternatives, so joints stay tighter and coatings crack less. It takes stain and paint well. It is light enough to handle on a ladder without a crew of four. And the species contains natural extractives that give it real resistance to decay and insects — not immunity, but resistance, which is why cedar roofs and walls on old coastal houses are still standing.
The other half of the appeal is that cedar ages into something rather than simply deteriorating. Left bare in a salty, breezy climate, western red cedar moves through honey-brown to a mottled grey-silver. White cedar and Atlantic white cedar weather paler and softer. That patina is the single most imitated effect in residential exteriors, and the only honest way to get it is time.
Shingles, shakes and boards are three different commitments
Shingles
Shingles are sawn on both faces, so they lie flat and tight. That is why they are the go-to for the smooth, scalloped-shadow sidewall look you see on shore houses. They are forgiving on curves — turrets, eyebrow dormers, rounded corners — and they handle tight exposures neatly. The trade-off is labour. A shingled sidewall is laid course by course, and the cost of a job shifts heavily toward the installer’s time rather than the material.
Shakes
Shakes are split rather than sawn on at least one face, so they are thicker, more irregular and read as rustic from the street. On a cabin, a lodge-style gable or a timbered entry, they give the wall real texture and deep shadow. On a crisp modern box they usually look like a costume. Because they are thicker, they also want careful detailing at corners and openings so the trim does not end up looking undersized.
Boards and pattern siding
Board siding is where most of the design decisions live. Bevel (clapboard) gives you the classic horizontal line. Shiplap and tongue-and-groove can run horizontally, vertically or on the diagonal. Board-and-batten reads tall and agricultural. Rainscreen-profile boards create an intentional gap for airflow. Dwell’s primer on boards, battens and bevels and what each profile is actually for is a sensible place to start if the vocabulary is new to you, because the profile you choose determines the reveal, the shadow depth and the fastening method all at once.
What the celebrity-home photos never show you
Published interiors and exteriors are shot at the best possible moment, usually within a season of completion. Celebrity home tours and features — the sort of thing readers enjoy alongside our profile of Mark Hines — are selling an image, not a maintenance schedule. What the frame leaves out is the drainage plane behind the cladding, the flashing above every window head, the kick-out flashing where a roof meets a wall, and the fact that someone will be washing that wall periodically.
Those hidden details are what separate cedar that lasts decades from cedar that cups and stains in five years. Three rules matter more than the rest: let the wall breathe, use the right fasteners, and finish all six sides before the boards go up. Furring the cladding off a weather-resistive barrier to create a ventilated cavity lets wind-driven water escape and dries the back of the wood. Stainless or hot-dipped galvanised fasteners prevent the black streaking that ordinary nails produce when they react with cedar’s natural extractives. And pre-finishing — including cut ends and the back face — stops uneven moisture uptake, which is the real cause of cupping.
Finish it, or let it go grey on purpose
Pick a lane early, because switching later is expensive. A semi-transparent oil stain keeps warmth in the wood and typically wants refreshing every few years on sun-exposed elevations; it is a maintenance relationship, not a one-off. Solid stain and paint last longer between coats but hide the grain and eventually need scraping. Bare weathering is the lowest-effort route and the hardest to control: elevations dry at different rates, overhangs shelter some areas, and the grey arrives unevenly. Bleaching oils exist precisely to even that out and give you a consistent silver faster.
Sourcing the material properly
Cedar is one of those products where the supply chain shows up in the finished wall. Thickness consistency, moisture content, grain orientation, how a pattern profile is milled, whether trim and millwork can be matched to the siding — these are specification questions, and a general building-materials counter is often not set up to answer them. Working with a specialty lumber supplier such as Liberty Cedar, which focuses on cedar species and custom wood products for residential and commercial exteriors, means you can discuss shingles and shakes, western red cedar lumber, pattern siding, timbers, white cedar and Atlantic white cedar, and custom mouldings and millwork as parts of one coherent exterior rather than items pulled from unrelated bins. That matters most on renovations, where new material has to sit beside something older without announcing itself.
A practical order of operations
- Decide the look first — shingle, shake or board — then let the profile follow the architecture rather than the mood board.
- Choose the finish strategy before you order, because it affects whether you pre-finish and how much material you buy for waste.
- Specify species, thickness and exposure in writing; a half-inch change in reveal alters the whole elevation.
- Sort out the drainage plane, flashings and ventilation cavity with your installer before the first course goes on.
- Order trim, corner boards and millwork from the same source as the cladding so colour and grain behave together.
- Let the material acclimatise on site, stacked and covered, instead of nailing it up the hour it arrives.
The part worth remembering
The houses that photograph well a decade after the shoot are not the ones with the cleverest profile. They are the ones where someone thought about water, air and fasteners before thinking about shadow lines. Cedar will give you the warm, weathered, quietly expensive look that keeps reappearing in home features — but it gives it to people who specify carefully, buy from someone who understands the material, and accept that a wood exterior is a living surface with a schedule of its own.

